
Week two started in sun (and sunburn!) before reverting back to a frigid rain, but not before we had time to plow and till a few fields! We direct-seeded our carrots and spring turnips, got the peas in the ground, and transplanted some head lettuce and brassicas: kale, chard, cabbage, and bak choi. The continued greenhouse work of seated seeding was contrasted with the very physical rumble of the tractors and the flexibility and agility demanded by efficient hand transplanting, leaving us very sore the next morning.
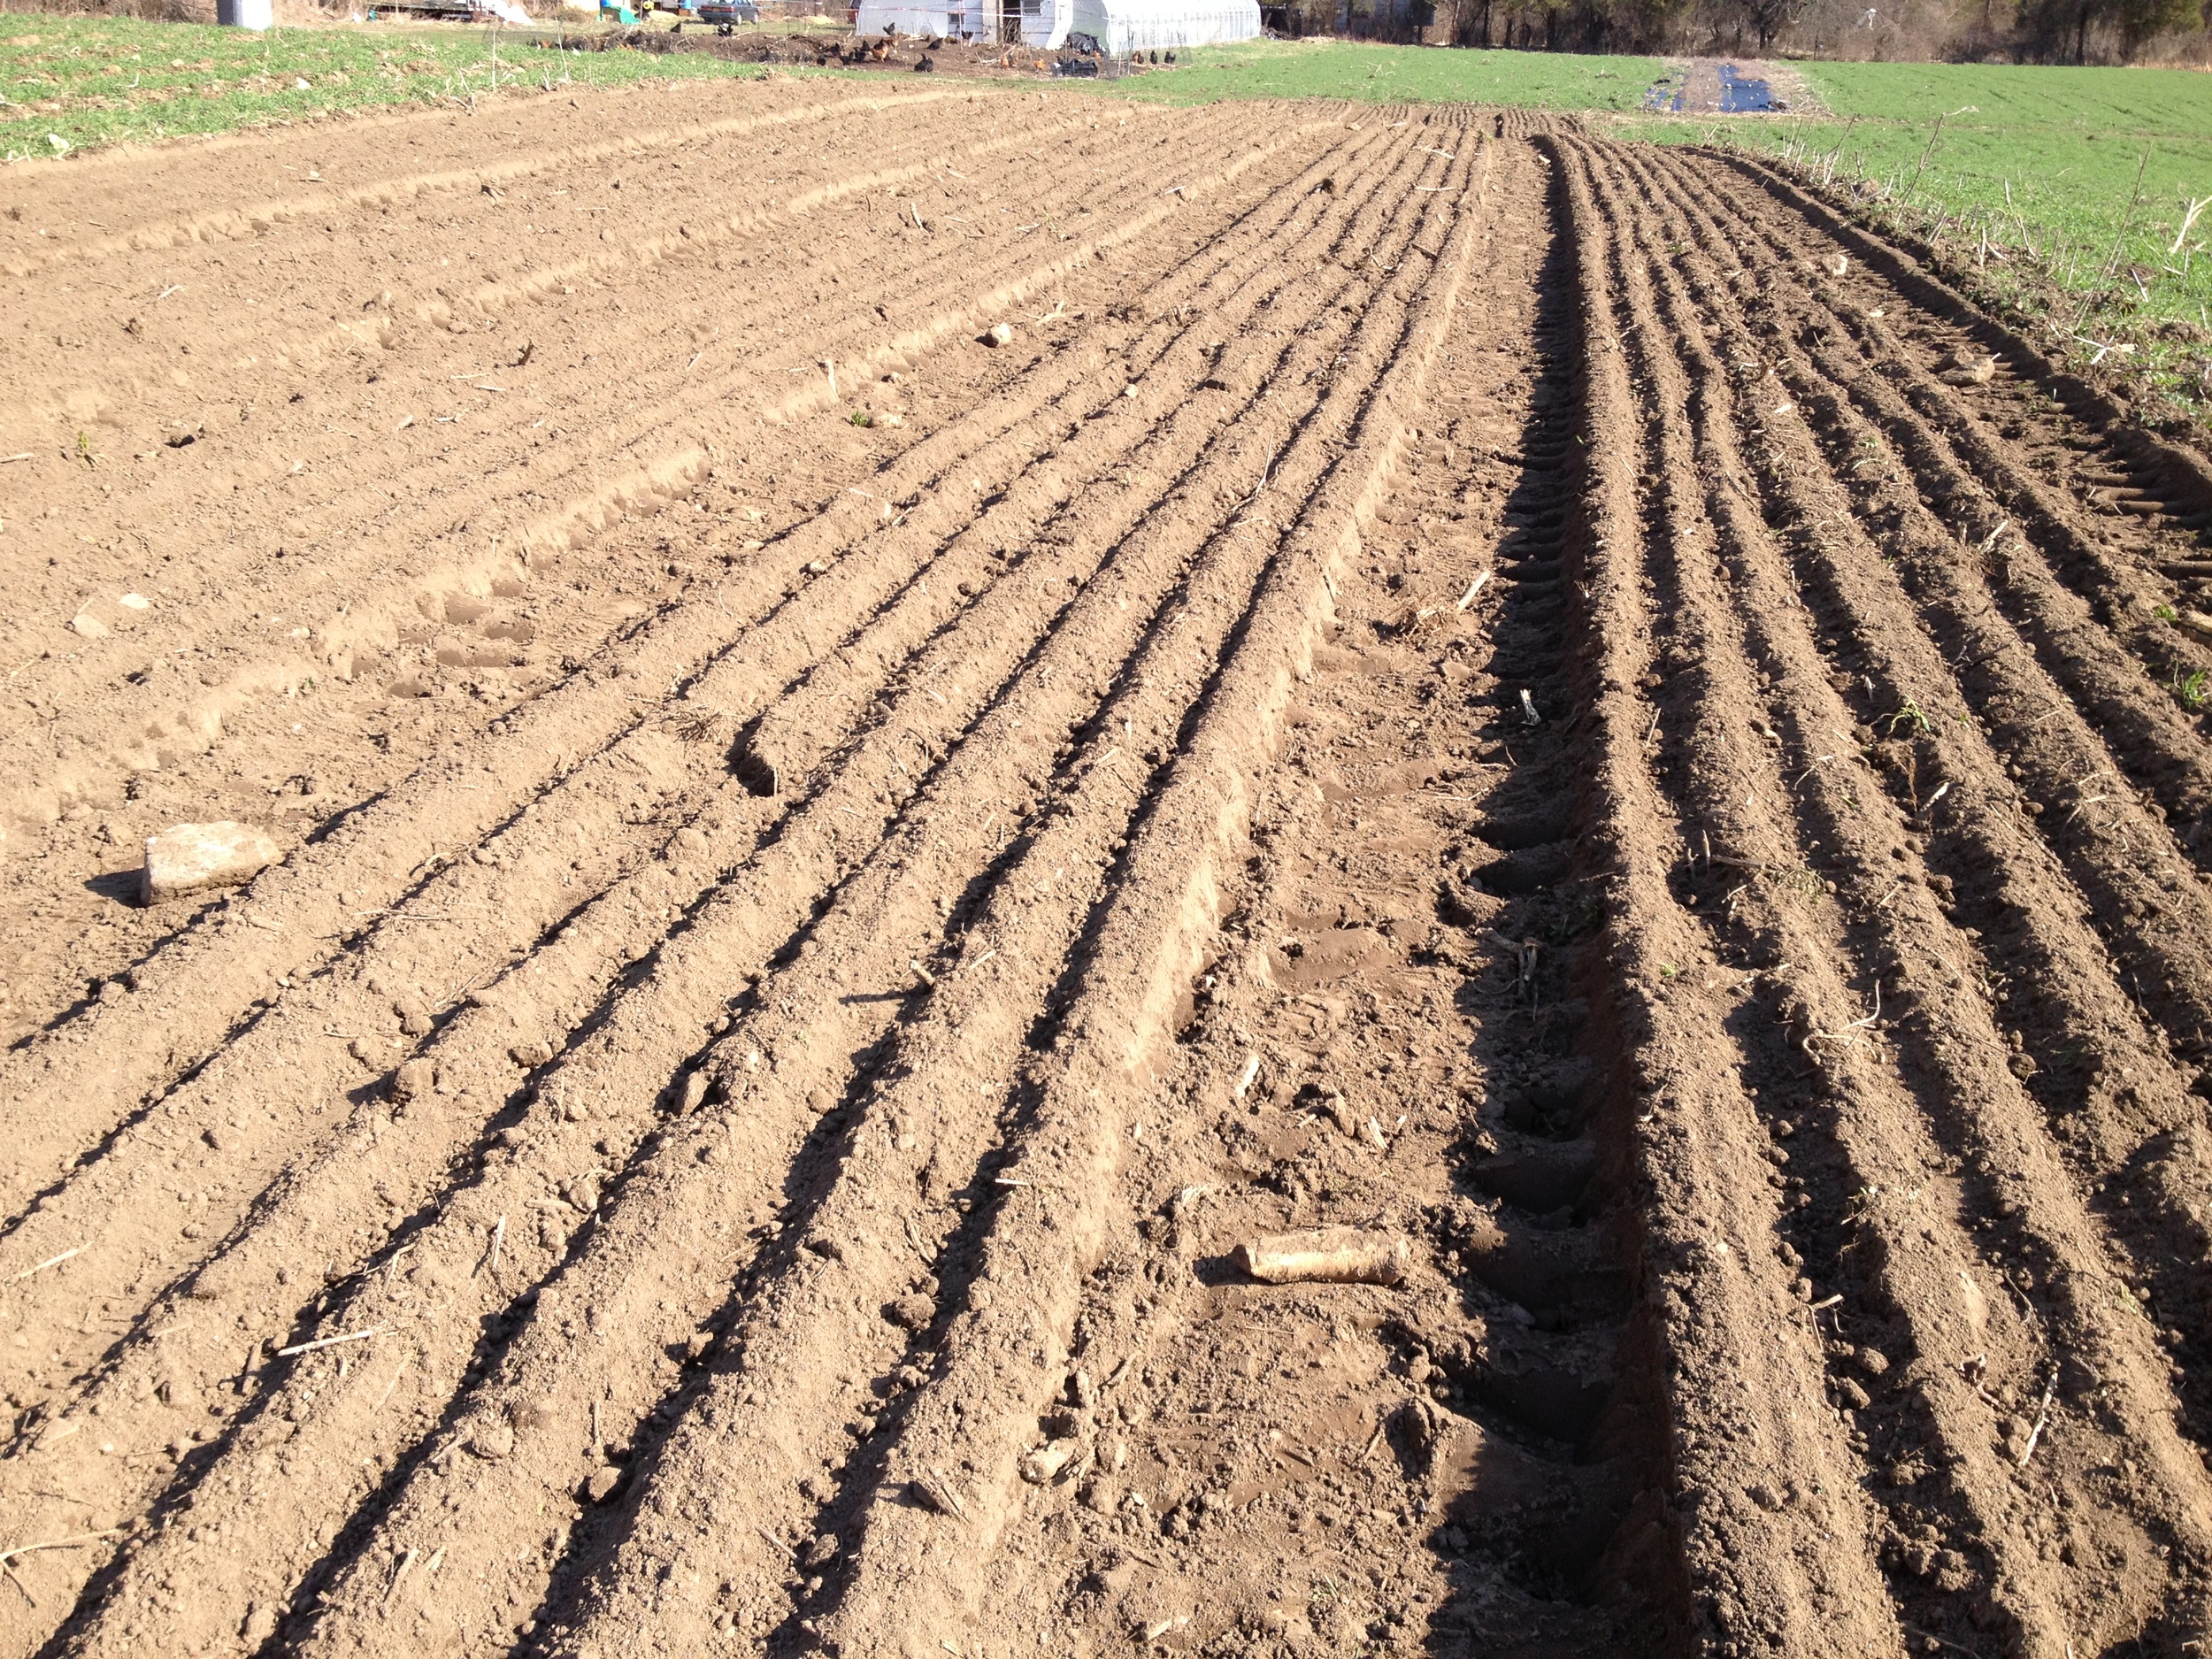
I started my tractor education this week! After some basic practice driving a tractor around and (attempting to) back up a trailer, I got in some practice on my first three implements: the spin spreader, the chisel plow, and the rototiller. Spreading a custom blend organic nutrients is the first step toward preparing a field for planting in the spring, and it is a low-stress, high-dust introduction to the tractor. After emptying eight fifty-pound bags of nutrients into the cone of the spreader, I donned my protective eyewear (sunglasses), facemask, and earmuffs and headed out to the field. Then off comes the spreader and on goes the chisel plow. A much more intuitive tool, the chisel plow is dragged through the field at a depth of about eighteen inches in order to aerate and loosen the soil without inverting the soil profile too much. This trip to the field involved a little more coordination; it took a few passes before I got the timing down to lower the plow right where the row started and lift right when it ended. A chisel plow also shows you how mistaken you were about driving in a straight line. The third and most complicated implement we tackled this week was the rototiller. Far from your garden variety walk-behind model, this rototiller is over five feet wide, and when dragged behind a tractor at the right speed with the right power will make a bed so smooth and fluffy you just want to lie right down in it yourself. Running the rototiller can be a slightly nerve-racking experience. For one, besides lowering and raising at exactly the right time, you also have to stay in as straight a line as possible while also lining up in a precise way with your last row so as not to leave any untilled spaces or create ridges by tilling too close. As if you weren't concentrating hard enough already, each and every rock you pass over with the machine makes a clank so big you're sure that this time you've broken the thing. I tilled and "punched out" (drove over to create a bed and a tire track/path) six beds, and the whole time my face was frozen in a look of "yikes that wasn't a straight line at all what was that sound I'm not very good at this at all did I just break this thing?" When I was done, it turns out that the beds didn't look so bad after all, and the good news is that I'll only get better with practice.
In other news, fellow apprentice Dan C. and I put in an order on Friday for twenty-five Freedom Ranger chicks to be delivered in the first week of May. We plan on raising them for meat, both for our own consumption and to sell to any CSA members that are interested. Mostly, we're doing it for the learning experience, and if the first batch goes well, we might scale up production for future batches through the rest of the season. So look out for future blog posts on baby chicks in the brooder, chicken tractors, and adventures in chicken slaughter!
Thinking about: horsepower, routines, reciprocation, projects
Eating: sweet potato and black bean tacos; pasta salad with green beans, olives, hard-boiled eggs, potatoes and dijon-mayo; roasted beets, potatoes, carrots, and onions over refried borlotti beans
Reading: Wendell Berry's The Unsettling of America: Culture & Agriculture, Augusten Burroughs' A Wolf at the Table, Mark Shepard's Restoration Agriculture